This is an old revision of the document!
Rigging
If you want to animate your 3D model, you can use bones and animate them to make the 3D model move. Each bone has a limited amount of influence on the 3D model and it pivots on one end, just like most of our bones do too.
This method of 'rigging' (creating a skeleton to animate your object) is super fast and easy, but it has it's limitations. It's based on a great tutorial by Ian Hubert.
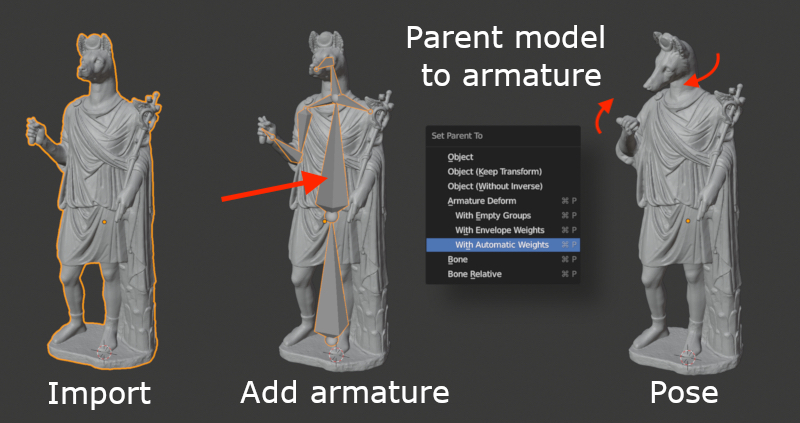
- Import your model
- Add an armature object
add > armature. This adds the armature object and a single bone - With the armature selected, in the
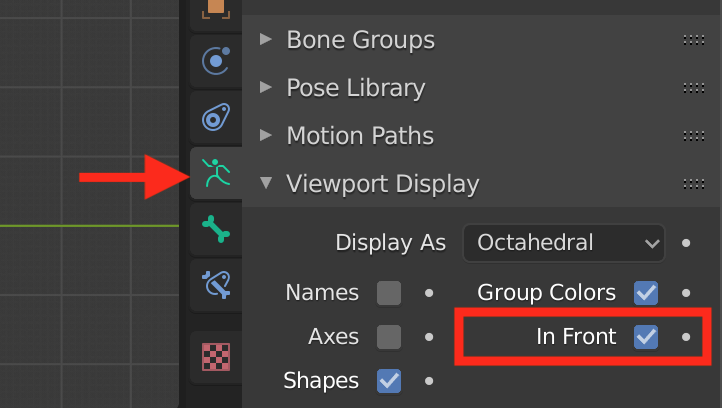
Object data propertieswindow, underViewport display, enableIn Front. It's easier when you can see where your armature is.
- Scale, reposition the bone as necessary. Extrude in edit mode to create a chain of bones.
- When adding separate bones (
shift + a) parent them to the other bones . Choosewith offsetwhen you want empty space between them, or chooseconnectwhen you want them to mesh together. - create a skeleton that fits the 3D object in it's current pose.
- Parent the object to the armature. Choose the option
with automatic weights. - switch to pose mode. Now you can animate your 3D model.

